A fence is a must for most properties’ gardens. They provide privacy, protection from the elements, and they can be used as a landscaping feature or as a support structure for plants. They are also a must if any furry members of the family enjoy roaming the garden.
Wooden panel fencing is the most popular type used for property borders. It’s fairly easy to erect, and with correct maintenance, it will last years. At Stop Digging we offer a fantastic alternative to concrete foundations so that you can have a secure fence in your garden. For anyone who wants to put up a fence, getting the process right is essential. But it can be difficult to get a strong result that will stand up to the elements.
So we are going to show you six steps so that you can:
- Choose the best materials
- Install the fence safety and securely
- Have a fence that will last through different weather conditions
Read on to become a fence professional!
Who should do this and why
Anyone can install a fence on their property, but it is worth checking with your neighbours before starting on your project. You don’t want a fence to ever become a subject of contention, so it’s good to get the all-clear before you start.
Step 1: Choose the right type of fence panels
When looking at your garden think about what size and design of panel would work in your space.
Some popular options could include:
- Timber close board fencing – This is one of the strongest and most secure types of fence panels. Easy to maintain by replacing individual boards rather than the full panel.
- Trellis fencing – Used as either the fence panel or to top another fence panel, trellis fencing is an attractive alternative to a plain panel. With a lattice effect, it is useful especially if you would like your fence to be a support to plants and shrubs.
- Picket fencing – Mainly used as a decorative or ornamental fence for properties, picket fencing has a traditional look that is very attractive.
Step 2: Choose the right type of posts
Posts are generally made from either wood or concrete:
- Concrete posts are robust and are a good choice if you expect difficult weather conditions and exposed areas.
- Wooden posts are not as heavy as concrete and are durable as long as the wood is treated with a weather-resistant material.
Step 3: Calculating materials
Before you buy your material, you should sketch the area you want to fence in. Make the sketch as accurate as possible and mark corner posts and gate posts clearly on the drawing. You will use the sketch a lot when you go out to a dealer and buy materials. With the sketch as a guide, the dealer gets a clear picture of your fence, which means that he can give you the right material and also useful tips.
Step 4: Preparing your area
Before starting to build you need to make sure you check the ground thoroughly where you are going to install your fence. There may be pipes or even just rocky ground that needs to be dealt with before you can start. You also may need to pull up some plants or shrubs and replant them in a better position.
Step 5: Laying the foundation
With our ground screws, it will be both cheaper and easier to set up your fence! Instead of digging up the entire garden and putting down concrete plinths, you can use our ground screws with a much better and more stable result. We have screws for all different types of soil conditions and construction. Our pipe screw is excellent for anchoring a fence, but if you have difficult terrain on your plot, we can help you find the best solution for you! Our fitters come and do the installation for you so you don’t have to think about it.
If you want to use concrete then you will mark out the position of your first fence post and dig a hole appropriate to the length of the post you are using. A standard hole would be 450-600mm deep and 300mm wide. Add roughly 25mm of gravel to the bottom of the hole. This will help with drainage and reduce the chance of the post rotting over time. Place your first fence post into the hole, and use a spirit level to position the post, making sure that it’s vertically level on two adjacent sides. It can be useful to use other posts to prop it into position while you then pour the concrete into the hole. Once the concrete is set you can remove the support posts. Repeat for the rest of the posts.
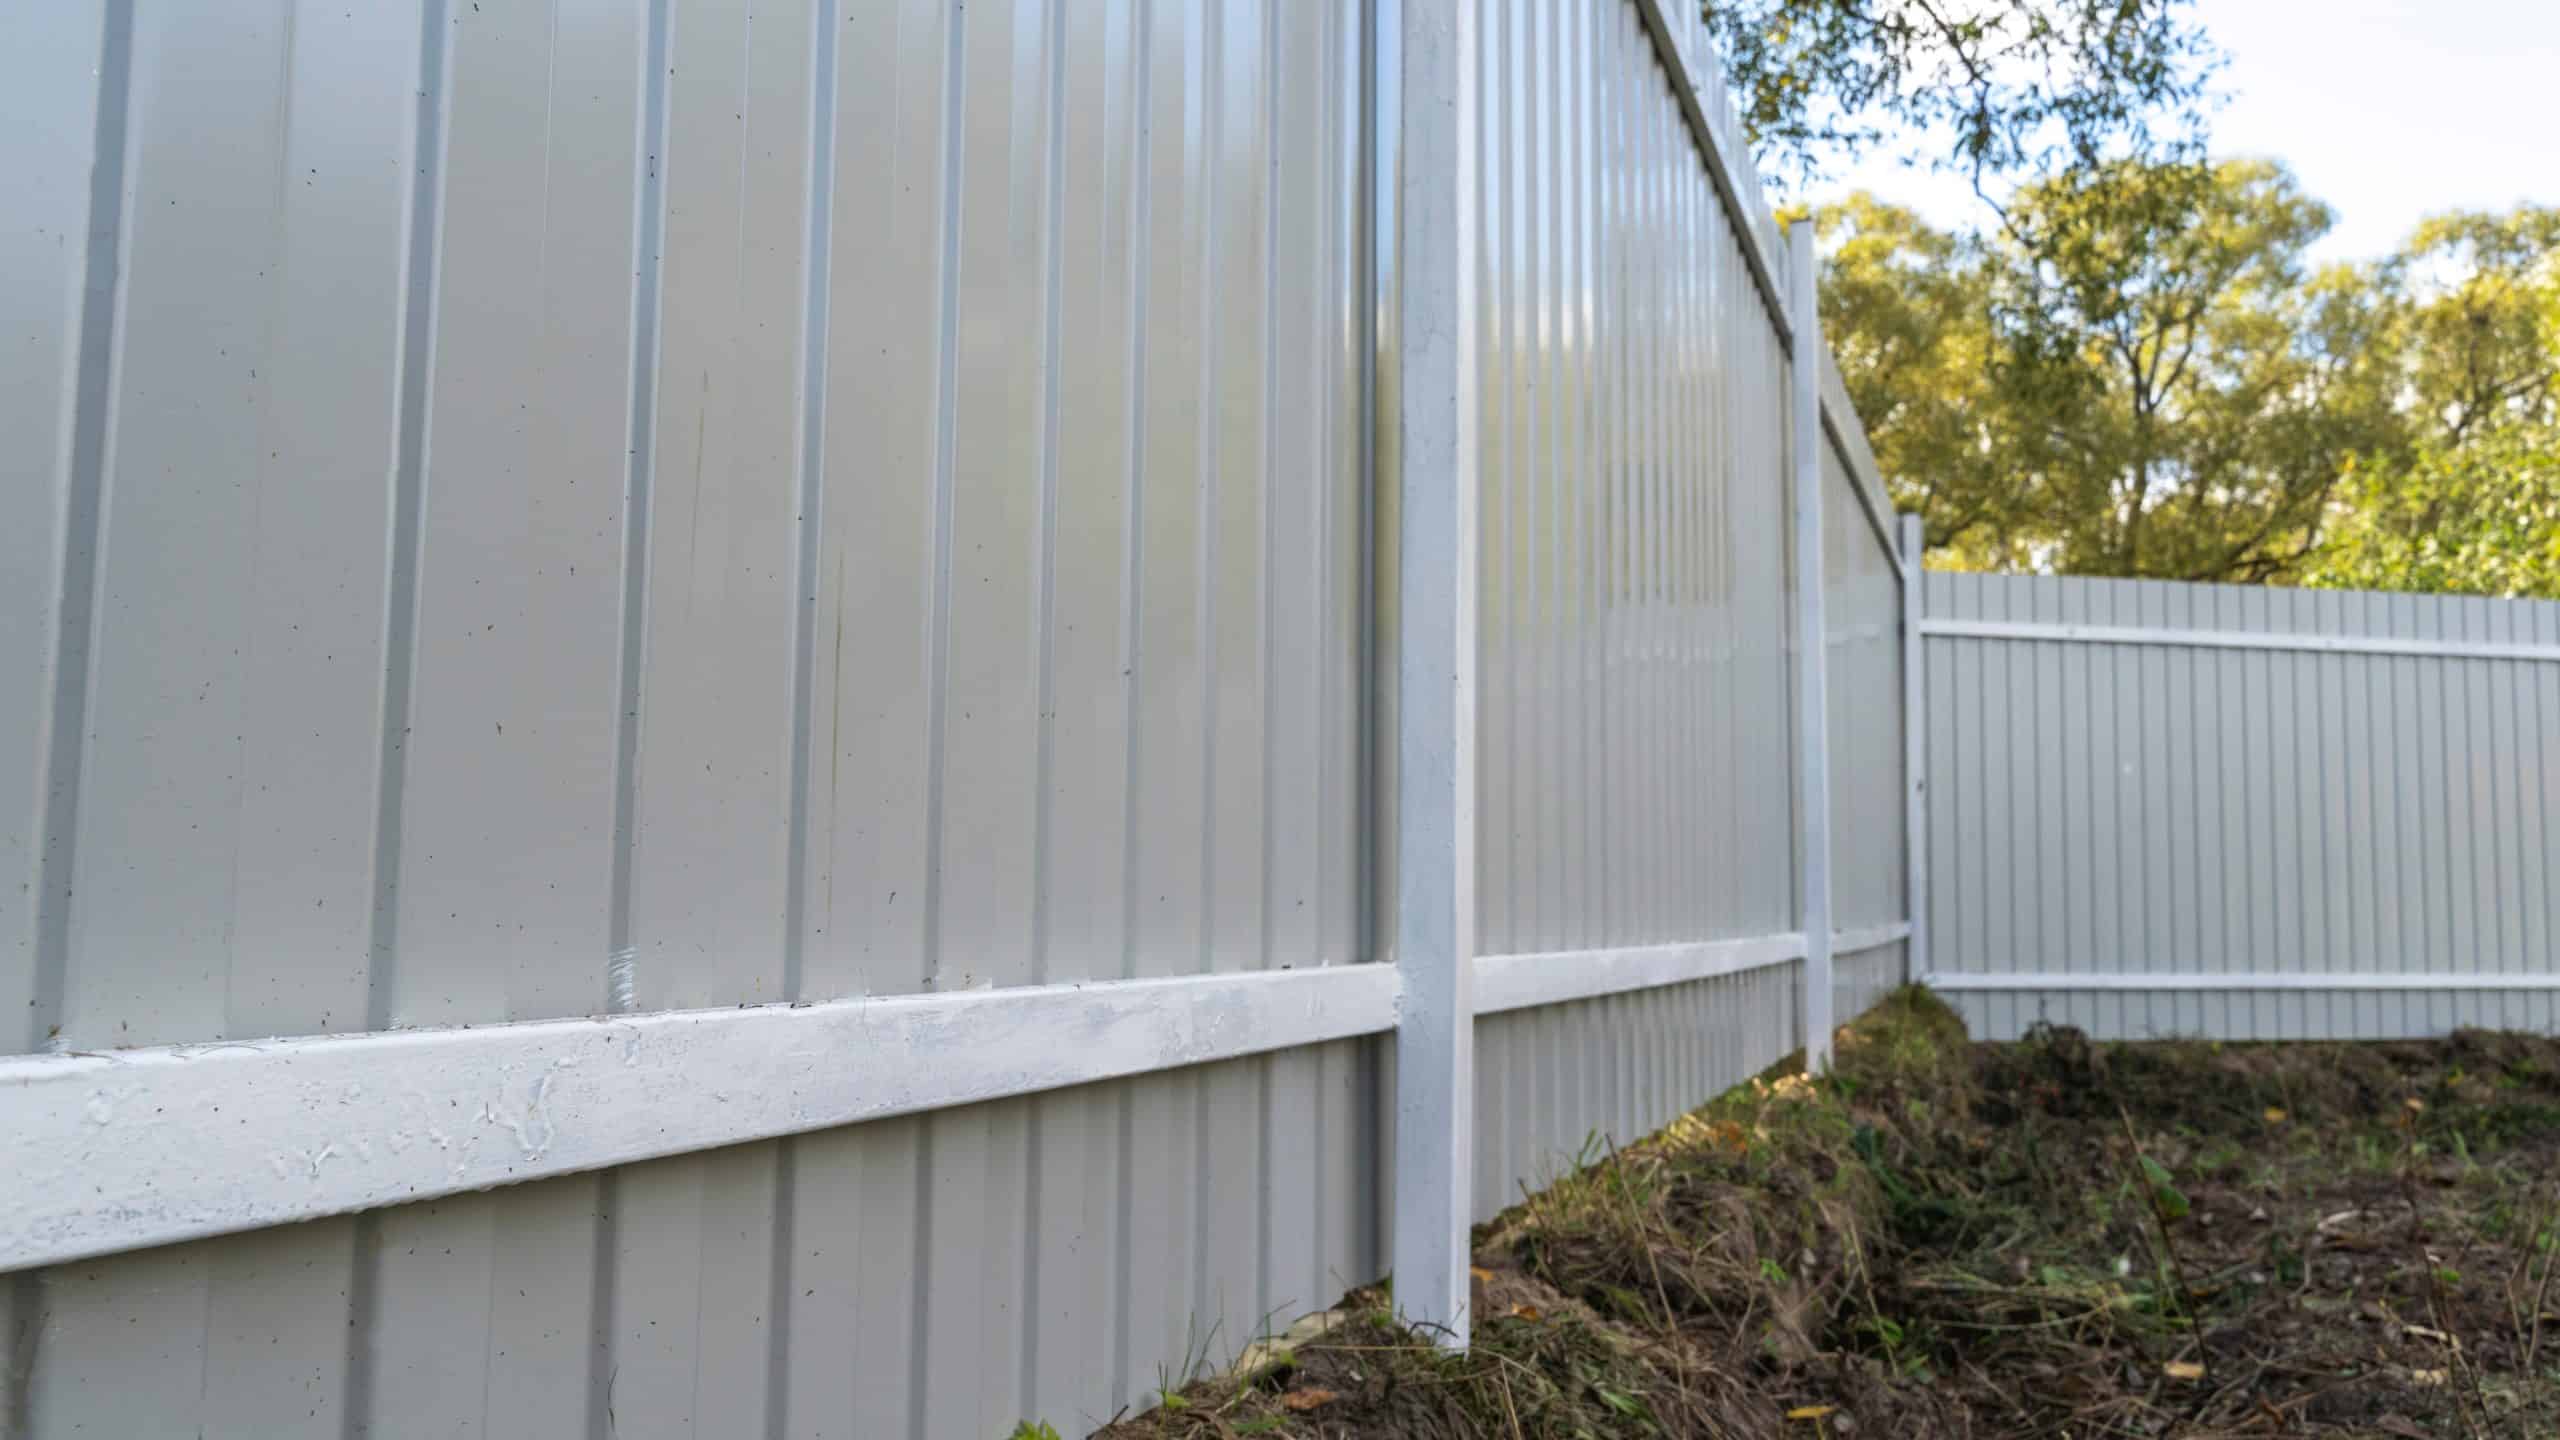
Step 6: Installing your fence
After the foundation posts are in place then you can install the panels to complete your fence. The method will vary depending on which type of panels you choose for your fence. Generally, you will want to allow a gap of at least 100mm from the ground to the bottom of the panel to ensure that the panel won’t rot. Most panels will be attached by two or three U-shaped stainless steel clips and screws, which you can attach to the post using a power tool or screwdriver.
Now you know how to install a fence
With this guide, you are ready to go and get that fence built! Taking the time to use the right method and also materials will ensure that your fence is still standing years from now. If you would like more information on how to use Stop Digging ground screws to install your fence get in contact with us here. Find out more about our range of ground screws, perfect for all types of soil.